Curves Color Adjustment | Only Photoshop
Photoshop Tutorial
Tutorial por Paquo360
Adjust the Color using the Curves Command, identifying black, white and gray points with two easy techniques.
Advanced Color Adjusment Using Curves
This tutorial will show you how to Adjust the Color using the Curves Command, identifying black,
white and gray points with two easy techniques.
First open the image, in this case is a beautiful lady modeling a girlfriend's dress. As you can see the
color its a little saturated, dark and diffuse.

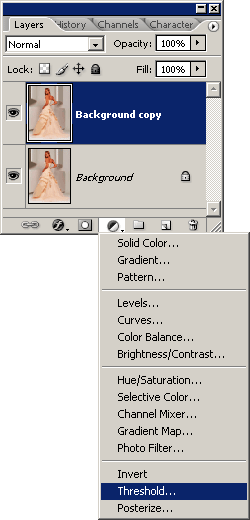
Duplicate the image layer. To adjust Curves in photoshop we need to find the white, black and gray points. The two first are easier than gray one, using threshold Layer Adjustment. As you can see in the inferior image just click on the Layer adjustment button in the layer palet and select Threshold.
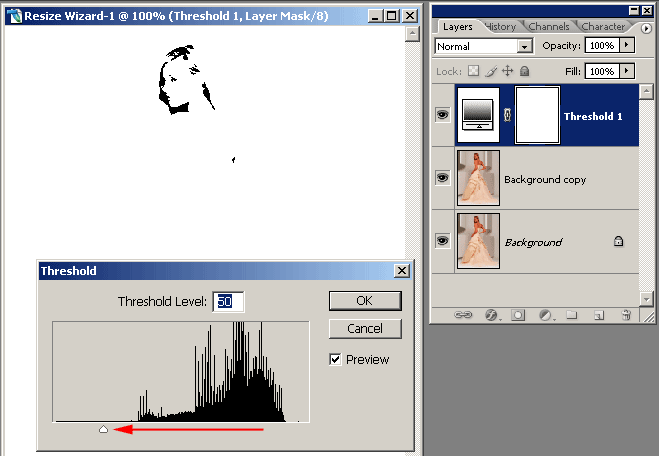
Black Point
Once created, your image turns black and white. Move the slider all the way to the left and the black becomes white. Slowly move it back to the right and you will see some black areas reappearing on the image, those are the darkest areas in the image. Click Ok.
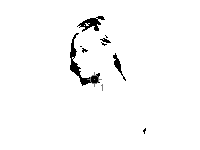
Using the Color Sampler Tool click on the darkest area and a target will appear. This way you already have the balck point. Next find the white.

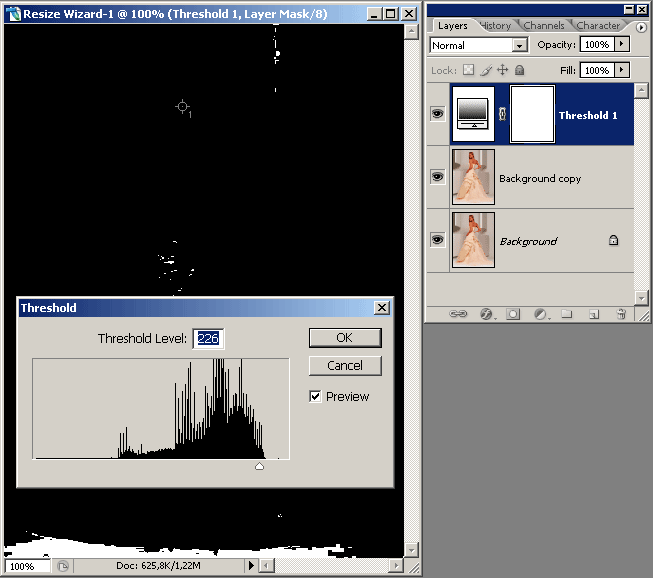
White Point
Double click in the threshold layer. Move the slider all the way to the right and the white becomes black. Slowly move it back to the left and you will see some white areas reappearing on the image, those are the lightest areas in the image. Click Ok.
Using the Color Sampler Tool click on the highlight areas and a target will appear. This way you already have the white point. Next find the gray.

Gray Point (Dave Cross Technique)
Now it is necessary to find the gray point, and this will make it using the Dave Cross technique.
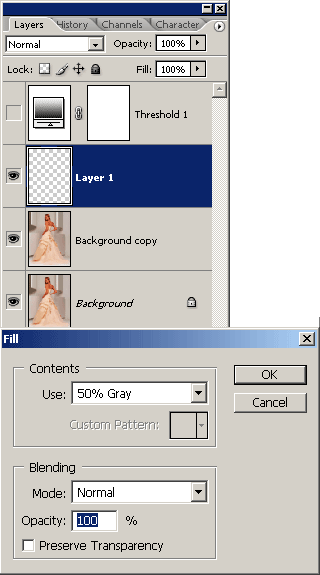
Disable the Threshold layer and add a new layer as you can see in the image. Fill this new layer with 50% gray:
Edit > Fill - Use = 50% gray
Click Ok.
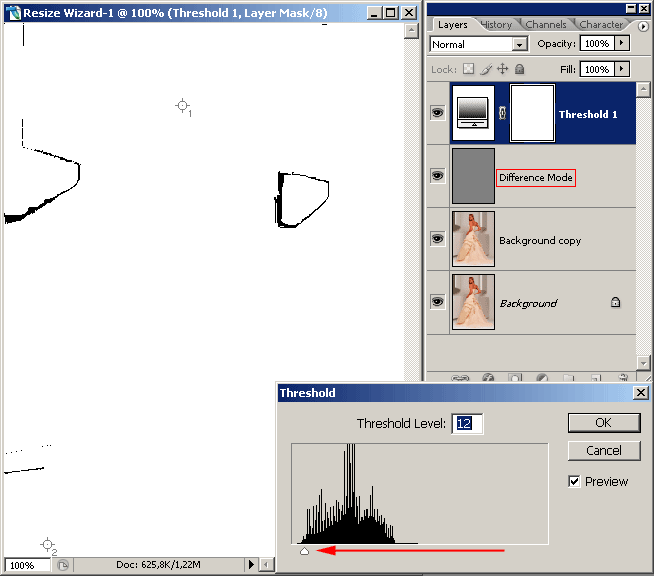
Change the layer to Difference mode.
Double click in the threshold layer. Move the slider all the way to the left and the image becomes white. Slowly move it back to the right and you will see some black areas reappearing on the image, those are the gray areas in the image. Click Ok.
Using the Color Sampler Tool click on the black area and the third target will appear. This way you have the gray point.
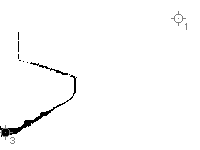
Delete the Threshold and the gray layers.
Now you have all you need to correct the color using curves.

Using Curves
Make a new Curves Adjustment Layer.
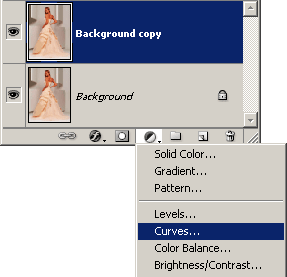
In the curves Dialog Box take the black eyedroper (Set Black Point) and click on the black point (1), then take the white eyedroper (Set White Point) and click on the white point (2). Finally take the black eyedroper (Set Gray Point) and click on the gray point (3).
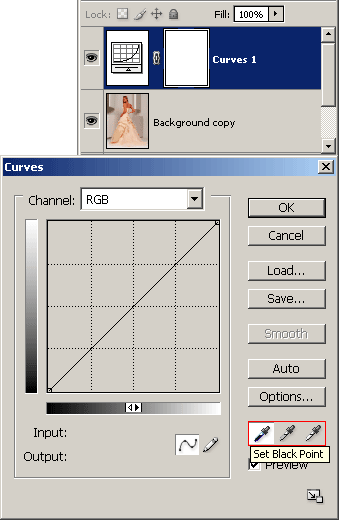
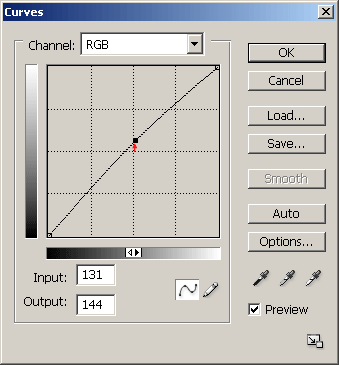
At this moment the image its much better, but its still a bit dark. Click on the center of the graphic and move the point a bit up, just to make the light perfect.
Sharpening
Finally i applied the unsharp mask filter.


Comentarios de Curves Color Adjustment | Only Photoshop
↑ Tutorial